To Juice or Not to Juice?

Written with love, by Nikki Lian

Juicing is taking the pulp out of raw fruits or vegetables and turning it into a liquid. It's an easy way of getting the nutrients from these foods without having to actually eat them. For example, juicing 5 cups of Spinach will leave you with a half a cup of Spinach juice. I'd rather throw back a half of a cup of liquid than have to down five cups of this vegetable, and still manage to absorb the same amount of nutrients.

juicing recipes

In theory, this sounds great. However, all your fiber from your fruits and veggies are in the pulp. We need fiber in order to digest our food properly. So if you decide to go on a juice fast, you're absorbing the sugars from fruits but not aiding the fruit through digestion.  A couple of ways to avoid losing fiber is to put some of the pulp back into the juice once you've separated them, or to use your pulp in baked goods or solid food recipes.

If you decide you want to try juicing, juicers can start anywhere from $30 and go up to about $500 if you want to get fancy.

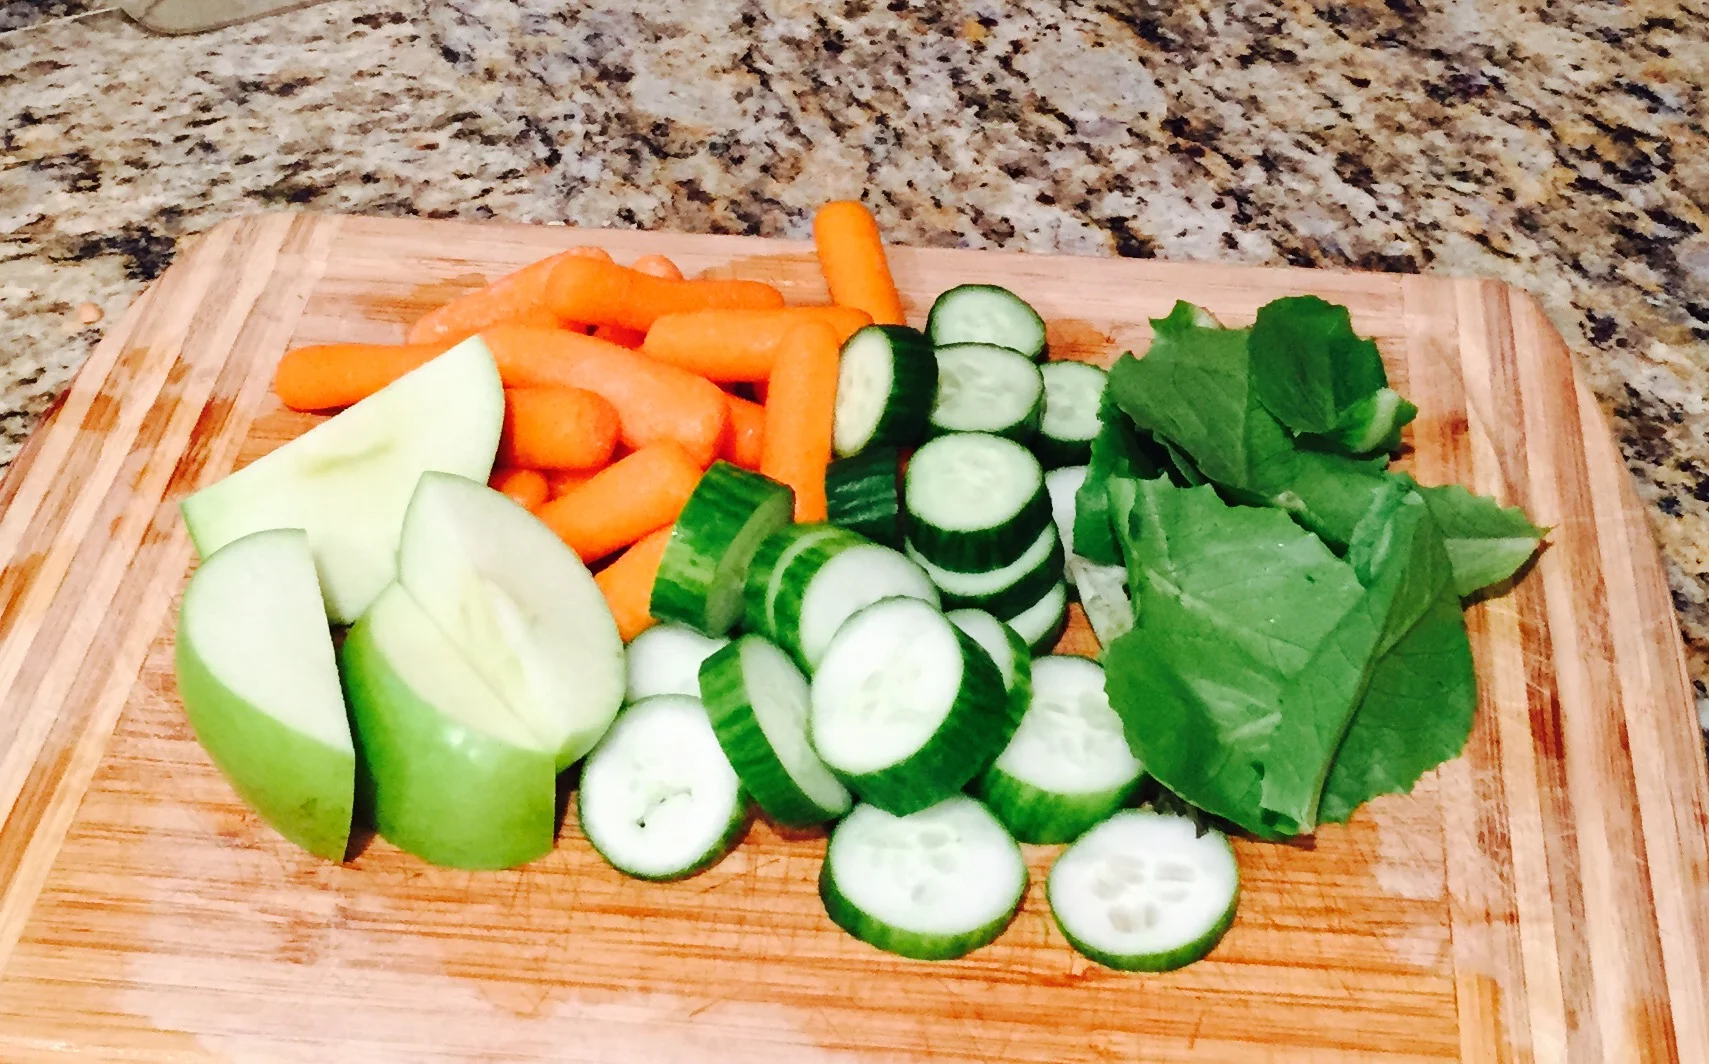
Here is a favorite mix of mine:

Spinach: lots and lots of Vitamin A and K that are important for skin, hair and bone health

Carrots: Beta Carotene and Antioxidant agents that are used to help fight cancer

Apples: Contain tons of disease-fighting antioxidants as well, apples are also know to decrease your risk of diabetes and lower your cholesterol

Cucumbers: Like watermelon, cucumbers are made up of 95 percent water. Cucumbers also contain polyphenols called lignans, which reduce your risk of cancer and protect your brain.

I always stick to three different vegetables to one fruit in my juice to avoid too much sugar intake. Try to only make enough juice for a day--all natural, fresh juices can easily collect bacteria if you keep them around for too long.  And always remember to replace that fiber!   Juicing makes a large amount of pulp--more than what I need at times. So if you're done baking and mixing it in with your salads, mix some of the pulp in your pet food (just make sure the ingredients you've used are pet friendly).

So there's a little insight on what a lot of people are talking about. I feel that this is something that can't hurt to try.  Have fun and be creative with your recipes...happy juicing!

Date Night Recipe // Perogies

Written with love, by Sarah-Elizabeth Stone

An entire meal starts with an amazing appetizer – especially when you’ve gathered friends and family to enjoy a great dinner. I absolutely love organizing a friendly dinner night. Everything from who is bringing what, to the who is who of allergies and intolerances (I always win that one). It might be crazy, but dinner parties are the highlight of my week.

During the organization of this fantastic dinner night, we all love to drop a line with one another to check in and confirm what everyone might bring to the table. The conversations are always filled with the standard emoticons and inside jokes. Let’s face it, a girl has got to add in that bright red balloon once in a while!

In the end, everything tastes amazing and it is always fun to make. This week’s date night focuses on a friend’s appetizer, “cheesy perogies”!  These are not only easy to create, but could be a side kick to a meal or standalone app.


Ingredients // The Filling

·         1 onion, finely chopped

·         4-5 potatoes, mashed

·         3-5 strips of bacon

·         ½ cup of a variety of cheeses

·         2 tablespoons of cottage cheese

perogies recipe


Ingredients // The Dough

·         2 ½ cups of flour

·         ½ teaspoon of salt

·         1 egg

·         2 teaspoons of oil

·         ¾ cups of warm water


Directions // The Filling

1.       Boil potatoes with some salt water, finely chop up onions, and cook bacon on medium heat

2.       Once potatoes are done cooking, mash up and set aside to cool along with the rest of the cooked fillings

3.       Chop up bacon into ‘bits’ and set aside

perogies recipe
perogies recipe


Directions // The Dough

4.       To begin dough, mix flour with salt, in a deep bowl, add in the egg, oil and water

5.       Knead on a wooden cutting board or cool surface until smooth (be careful not to over knead the dough, this creates a tough pastry)

6.       Divide dough into two separate parts, cover with a tea towel to let stand for 10 minutes


Prep/Cooking

7.       Mix together all the filling ingredients once cooled, add in cheese and stir

8.       Roll out the dough roughly 1’ thick and use a glass cup to create small circles

9.       Take a spoonful of filling and place it in the middle of the circle, fold together and pinch closed

10.   Cook in boiling water for 5-8 minutes, then fry in a pan for about a minute per side

11.   Top with grated cheese, bacon bits and garnish.  

perogies recipe

Barbeque Leftover Recipes // How to keep the party going!

Written with love, by Nikki Lian

Summer is the time to kick back, relax, catch some rays…and barbeque of course!!  I’m incredibly lucky to be blessed with beautiful, southern California weather all year round and one of my favorite ways to cook is on my grill.  I get to do it every day!

Growing up in Brooklyn, barbeques in the summer meant Italian sausage, steaks, pasta salad, chips and dip—and tons of other delicious foods with tons of calories, saturated fats and carbohydrates.  Nowadays, barbequing for me means cooking vitamin and mineral-packed veggies along with grilled chicken, fish and lean steak packed with protein.  But what happens when you’re cooking for two and you have tons of leftovers?  One sliced eggplant grilled up with salt, pepper and garlic can last you a week!!  And who wants to eat the same thing for a week? 

Here are some ideas to use up your healthy, barbequed leftovers without getting bored and wasting your food:


Tofu Stir Fry

tofu stir fry recipe

I’m not a huge tofu fan, but I made this for my vegetarian fiancé.  I had grilled tofu the night before (as well as a chicken breast for me) and some asparagus, onions and sweet potatoes.  All of the veggies already had flavor as well as the tofu.  So what did I do?  I chopped up them up and threw them in a pan! 

Spray the pan first with some olive oil or cooking spray so the food doesn’t stick.  Yes, all you’re doing is heating up leftovers using a different equation.  By the way, tofu isn’t just for vegetarians.  It is a low-calorie, cholesterol and gluten-free source of protein containing all the essential amino acids.  However, if you’re not into tofu, use the leftover chicken.


*Insert Leftover Meat Here* Salad

healthy barbeque salad recipe

So I’m a huge red-meat fan, but I try to keep to once a week, so this may go better for chicken or even fish.  If you have some leftover protein from the day before, add it to a salad! 

I already had the cucumbers, mixed greens and fruit (I like to add a pear or nectarine to give it a fresh summer-salad taste) as a side dish from the day before.  What I did was add corn from one of the three corn-on-the-cobs left over by cutting the corn off the cob into chunks.  If you luck out, the corn will add some sweet flavor to your salad.  But more importantly, corn prevents heart ailments, lowers hypertension and is known to help control diabetes.  So it’s not just a side dish! 


Veggie Pizza

healthy barbeque pizza recipe

If you’re trying to lay off the refined carbohydrates, this one is a bit of a splurge.  But by piling your whole wheat or gluten free crust with your leftover grilled vegetables, you may only need ¼ of your grilled-veggie pizza to fill you up. 

What I did was I took a serving of whole wheat pizza dough (I got it at Fresh N Easy, I’ve seen it in Trader Joe’s but you can probably get it in almost any grocery store) and spread it out in a 9 inch round pan.  I baked the dough for 12 minutes at 425 degrees.  Then I added pizza sauce to the partially-cooked dough, and started piling on the leftover grilled vegetables that had been previously sliced and marinated in garlic, salt and pepper.  My three veggies this time were eggplant, zucchini and asparagus.  It’s up to you whether you want to add cheese or not, but I really think it doesn’t need it.  Continue to bake at 425 degrees for 20-25 minutes.  Let it cool off a bit, and enjoy!!

I hope you enjoy these simple, yet tasty recipes for my barbeque leftovers, and hopefully I have sparked some ideas of what you can do with yours.  Bon appetit!!