A Quick Workout For Honeymoon Worthy Abs

Written with love, by Jennifer Dene

Normal
0


false
false
false

EN-US
X-NONE
X-NONE


 <w:LatentStyles DefLockedState="false" DefUnhideWhenUsed="false"
DefSemiHidden="false" DefQFormat="false" DefPriority="99"
LatentStyleCount="…

Welcome back for our final week of fitness variations to take your workout from blah to babe!

Today we are elevating the humble abdominal crunch into a thing of fitness magnificence. Are you ready?

I’ve written before that I don’t always isolate my abdominal muscles during workouts, as too much targeted ab work can lead to injury. Over the last two week’s you have been strengthening your core with squats and planks, which are both terrific to do on a regular basis. The crunch variations below will be the perfect addition to your workout once or twice a week.


How To Do The Basic Crunch

Normal
0


false
false
false

EN-US
X-NONE
X-NONE


 <w:LatentStyles DefLockedState="false" DefUnhideWhenUsed="false"
DefSemiHidden="false" DefQFormat="false" DefPriority="99"
LatentStyleCount="…

Step One: Start by laying on your back with your knees bent and feet flat on the floor. Take your hands behind your head and relax your head into your palms.

Step Two: Keeping your low back still against the ground flex through your upper torso to lift your head and chest away from the floor and direct your gaze to your navel.

Step Three: Lower back down to the starting position. On a crunch you exhale when you lift the chest and inhale to return.


The Variations


Rope Climber

This move targets your six-pack muscles as you slowly roll the spine up and down from the floor. Try to keep your feet still and not use any momentum!
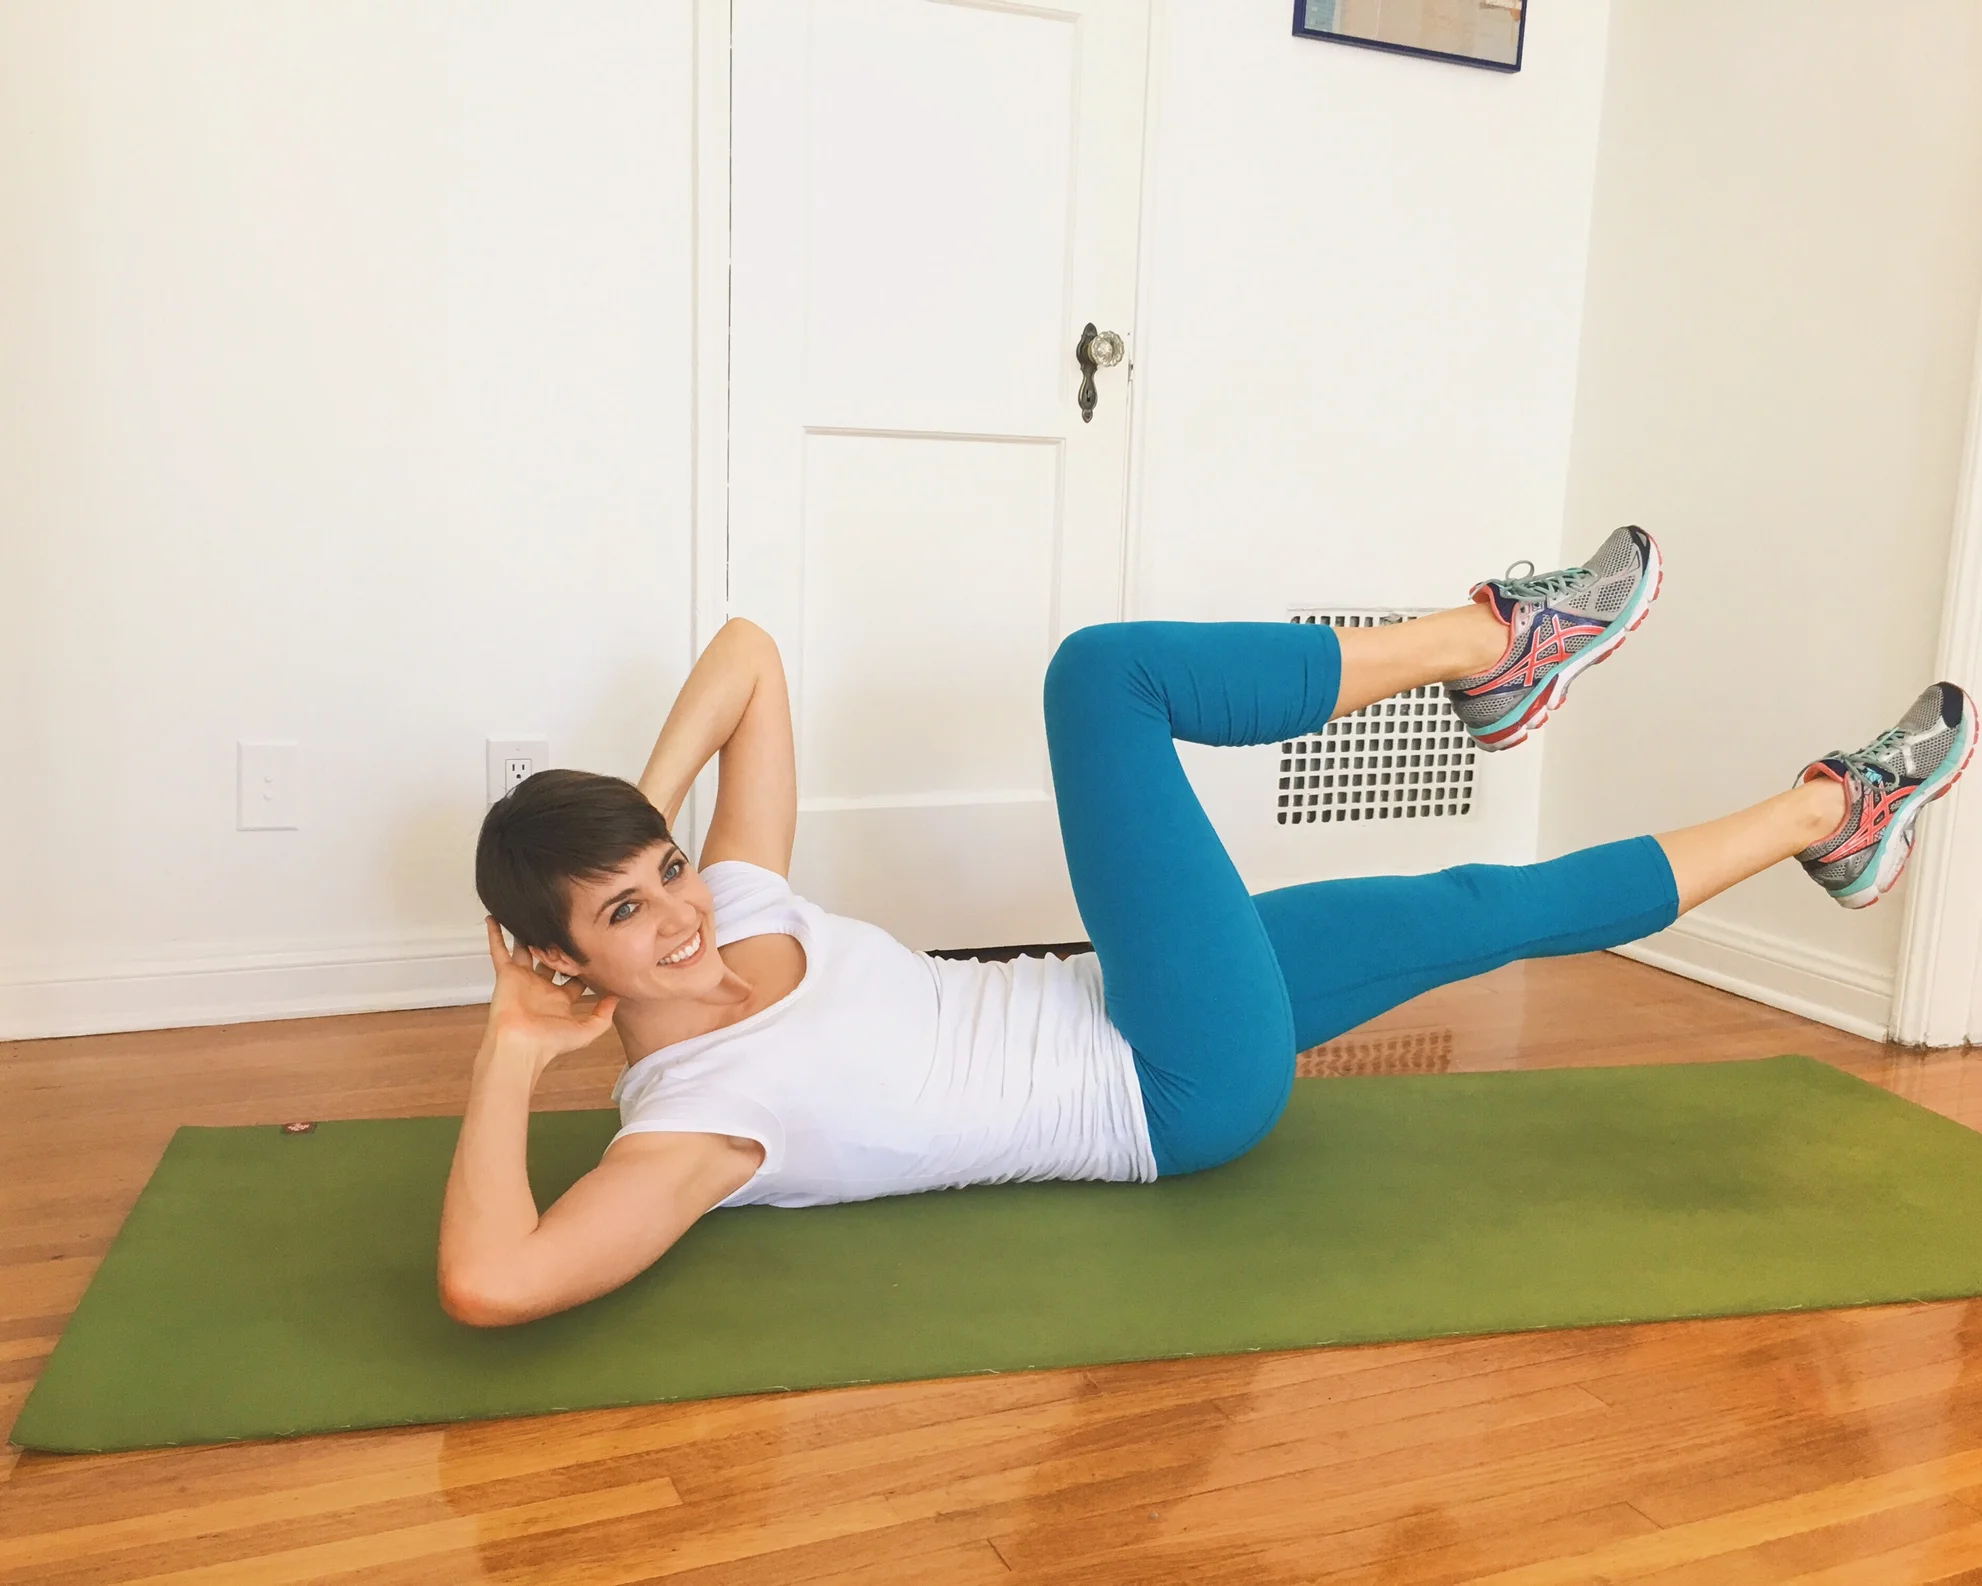
 

Reverse Crunch

The six-pack is still engaged as you hold a static upper ab curl, but then you recruit your deep belly muscles to lift the hips and bring the knees to the nose. Often women forget to train the lower half of their abs so you will be thanking me for this one come the honeymoon!


Side Glides

This move flexes the spine from side to side to tone those oblique muscles in a different way than the normal bicycle twist. Keep your knees as still as possible as you reach towards your heels.


I recommend starting with 5 repetitions for each of these new moves and adding on once you feel confident. Press play for the quick video tutorial to see exactly how to do these moves, and then let me know which one is your favorite and why by leaving a comment below!


I can’t wait to workout with you!
      
       Jennifer Dene

Stepping Up Your Plank Game // Movements to add once you've mastered the basics!

Written with love, by Nikki Lian

Last week we looked at basic planks: the straight-armed plank, the bent-armed plank, the side plank and modified plank. Practicing these exercises every day will make your body stronger and eventually planking won't be so dreadful anymore. Nothing is really that terrible when we feel confident doing it!  But now to take it a step further--here are some movements you can add to the plank once you feel comfortable and confident performing one:

at home workout for brides


Forearm to Push-Up Plank

Starting in a straight-armed plank (push-up) position, one at a time bring your arms down into a bent armed plank position. Then one at a time bring your arms back up to a straight-armed position.

This can also be done starting from a modified plank. Start with a set of ten repetitions and work your way up. Or, like a regular plank, you can time yourself and each set try to beat your time.


Plank Jacks

I also call these floor jacks. Start in a straight-armed plank position and start moving your feet as if you are doing a jumping jack. The only difference is that your hands are on the floor instead of up in the air. Jump landing your feet far apart, and then jump back in landing your feet together. Start with 10 repetitions and then work on increasing that number for each set.


Alternating Leg Plank Hold

Your starting position can be either a bent-armed or straight-armed plank hold. Once you're in this position, raise your left leg in the air and hold it.  After 20 seconds, bring it back down into starting position and then raise your right leg in the air, and hold that for 20 seconds. There really isn't a right or wrong amount of time -- 20 seconds is just a number I start with. I would do 20 seconds with both feet down, then 20 seconds on each leg.

Some people save their plank exercises for when they work on their abs. I like to do mine while doing a circuit or working on the machines to keep my heart rate up. For example, I'll do one set one the lat pull down machine and then a quick set of plank jacks.

Planks are like any other exercise--once you get good at them they won't seem so bad, and you'll have a newfound strength in muscles you don't normally use. And another great about them is that there is no equipment necessary. So wherever you are, plank away!

Power Your Core (While Toning Your Legs)

Written with love, by Nikki Lian

Last week I shared some simple exercises to target your abdominal area while using the exercise ball.  Again, an exercise or stability ball helps improve your core strength during your workouts.  And to recap, your “core” muscles include the muscles of your abdominals, back and around your pelvis. 

Although a workout on the exercise ball targets your core, who says that’s the only thing we can target?  It’s not!  I love having my clients use this simple piece of equipment to work and tone their legs as well.  Here are a few exercises you can add to last week’s routine to strengthen your bottom half:


Wall Squats

Find a nice, flat wall you can use for this exercise.  Place the ball at the curve of your back, and don’t be afraid to lean into the ball.  Your feet should be shoulder width apart, with your back straight and your hands on your hips. 

Proceed to do a low squat, like you’re aiming to sit on a chair.  Leaning into the stability ball allows you to go lower than you would by doing a standing squat.  Make sure your knees are not passing your toes—you want your weight to go into your quads and glutes.  Once in a squat come back up to starting position. 

bride to be leg exercises

You can make this exercise harder by holding your squat for ten seconds each rep and then coming back up.  You can also alter this exercise to work your inner thighs by widening your stance and turning your feet out.


Walking Lunges with Ball Extensions

With the exercise ball in both hands, step into a forward lunge and extend the ball opposite of the leg you’ve stepped out with up to the sky.  You should feel a nice stretch in your abdominal area.  At the same time you step into starting position, lower the ball.  Then alternate, extending the ball to the opposite side of each leg you lunge with, bringing the ball back down when you’re in standing position.

bride to be leg exercises


Exercise Ball Extensions

Lay flat on your back, with your hands at your sides for balance.  Starting with your knees pulled in and both of your heels on the ball, push your legs out straight and pop your hips up as if you were doing a bridge.  Bring your torso back down to the ground and then pull the ball into starting position, and repeat.  To make this exercise a bit more challenging you can hold your bridge for ten seconds during each repetition.

at home leg exercises

So there you have it.   Each of these stability ball exercises stayed true to the core, but added a workout to the thighs, glutes, and hamstrings.  Who needs a gym?  All you need is a large, air filled ball to get a good workout in!  Exercise balls can be found at a variety of stores, including Target, Walmart and any sporting good store.